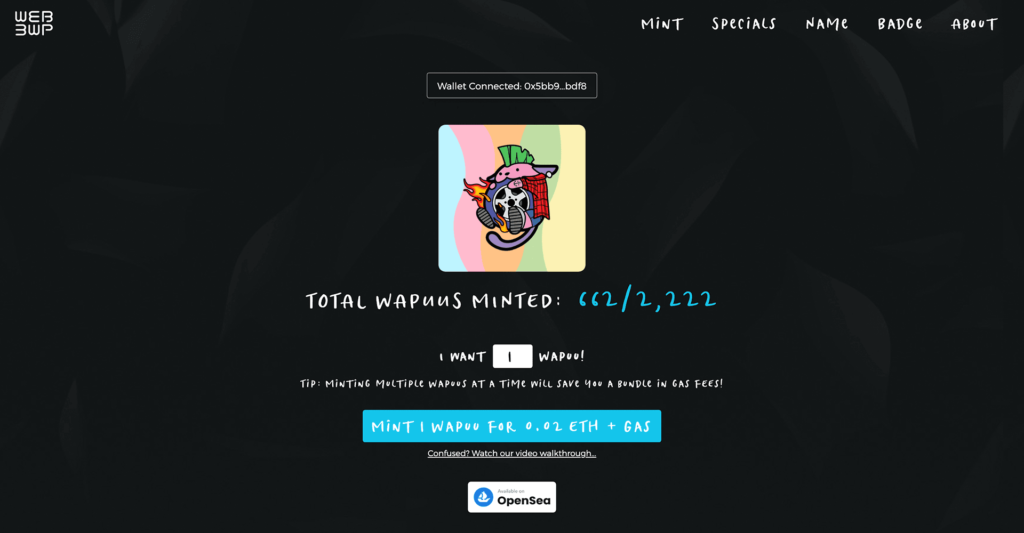
All the code for the Wapuu NFT Experiment is now available on GitHub. Our first experiment includes four distinct web apps that work together for minting our generative NFT Wapuu collectibles. We are committed to making all our code open to the community for continued learning and development. Follow along, download, copy, share, and experiment with writing your own smart contract.
Experiment #1 Apps
When you visit our GitHub repo you will find all the components needed to set up your project. The apps include:
- The Smart Contract – Solidity
- The Frontend Website App – Nextjs/React
- The Metadata API – Nodejs
- The Image/Trait Generator – Python
In this post, we will provide an overview of each of the apps. We hope they provide a foundation for new users looking to create their own NFT projects.
The Smart Contract
At the core of an NFT is the smart contract. We cover the Wapuu NFT smart contract extensively in our walkthrough video. Smart contracts are programs stored on a blockchain that run when the conditions of the contract are met. They automate the execution of an agreement so that the participants can be certain of the outcome. If you have ever entered a contractual agreement, it is easy to find massive benefits from this technology, such as:
- Eliminating the need for an intermediary
- Ownership verification
- A public record that can not be falsified
- Speed and efficiency when terms are met
- And the list goes on
We built the Wapuu NFT smart contract using the standard ERC1155. For development we use Hardhat which handles compiling, running a local node, automated testing, and deploying to Local, Rinkeby Testnet, or Mainnet.
The config is available in hardhat.config.js file. To use the file for your project, rename sample.env to .env and populate it with the needed config variables. Options for local testing are described in the config file.
Available commands are listed with the source code on GitHub for testing, compiling, deploying, and running the program.
If you have questions, join our community on discord. We are always looking for new applications and would love to see what you are building.
The Frontend Web App
The frontend web app allows our users to mint Wapuus from our website. The website is built with Next.js + Tailwind CSS. It can be deployed to Next.js hosting like Vercel/Netlify, or as we did can be exported as static HTML and deployed on any host or CDN like Cloudflare Pages for unlimited scalability.
The config is located in the next.config.js file. Your config.json file needs to contain the smart contract address and ABI (interface specification in JSON). This is used by the web3.js library to interact with the smart contract via the user’s wallet.
The Metadata App

As was mentioned in our smart contract overview video, NFT smart contracts do not save the metadata for each token as that would be very expensive. Instead, they reveal a tokenURI() or URI() method that returns the URL where you can find the metadata for a specific NFT tokenId. You could save this metadata to the IPFS blockchain, but that would make it possible during the minting process for someone to preview all the NFTs that are yet to be minted and removes the aspect of chance. To resolve this, we used a simple node.js API with the Serverless framework deployed to AWS Lambda for unlimited scalability.
OpenSea Metadata Standard: https://docs.opensea.io/docs/metadata-standards
All API code is in the /api/ directory. Enter that directory then run npm install to install all dependencies. To avoid revealing secret information before all Wapuus are minted, we only include sample config/metadata files. You will need to rename and edit:
- Wapuu metadata (this is generated by our Wapuu generation script): api/all-traits.sample.json to api/all-traits.json
- Configurations for dev/prod stages (same data as config.json and an Infura API url): api/config-dev.sample.jsonto api/config-dev.json
- The whitelist of addresses for distributing our POAP: api/og-collectors.sample.json to api/og-collectors.json
The main code for the API endpoint is in api/handler.js and the main Serverless config is serverless.yml.
The Image/Trait Generator App
Finally, we built a programmatic generator that creates completely unique Wapuu characters based on a random set of more than one hundred distinct traits like hair, hats, accessories, clothing, holding items, and colors. Traits are weighted to have various rarities, some are very common, and some may only be found on a lucky handful of Wapuus. All these traits were created as transparent PNG layers, and the python script combines the layers to create the final Wapuus and their JSON metadata. This can all be found in image_generator/ directory.
The repo only includes some samples traits of each layer as a starting point in the image_generator/trait-layersdirectory. 1-of-1 special edition Wapuus were placed in the image_generator/completes/ directory and their special metadata defined in image_generator/metadata/special-wapuus.json.
Scripts for generating the art, deploying to IPFS, and refreshing the metadata are available on GitHub.
Wrapping Up
When practicing a new coding language we find it incredibly helpful to work with live examples. So, we’ve made everything you need to build your own generative art NFT project available on GitHub. Each section includes a list of commands and scripts for setting up your project.
Web3 WP is working on new projects and we will continue to share our code and findings. If you have questions or create a project using our example we want to hear about it. Tell us about it in the comments or drop us a message on the Web3 WP Discord server.

Hey Aaron, thank you so much for sharing all that amazing info and open sourcing the whole NFT project. I’m very excited to start my own NFT experiment 🏃♂️